Use SMTP with XOAUTH2 on Microsoft 365/Exchange Online/Office Outlook 365 with a service principal
Service principals in Microsoft 365/Exchange Online can be used to send mails via SMTP. This requires XOAUTH2 authentication in the SMTP protocol. Preparing your service principal can be hard, this simple step-by-step guiding will help you setting up.
Create application in Entra ID and give permissions
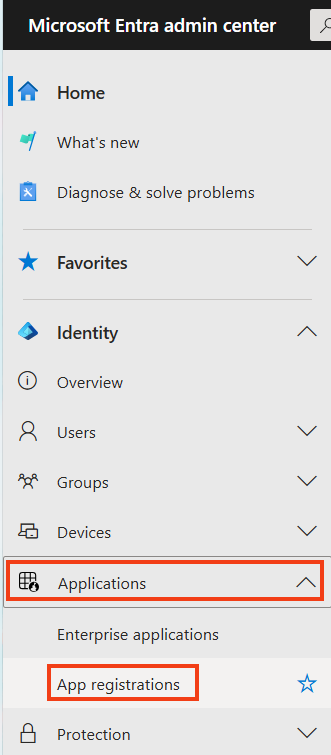
Open https://entra.microsoft.com, go to Identity > Applications > App registration.
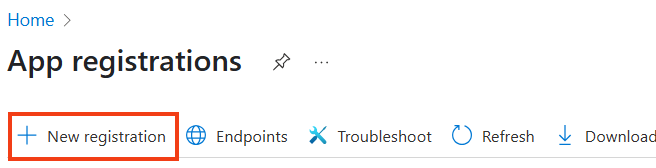
Click New registration.
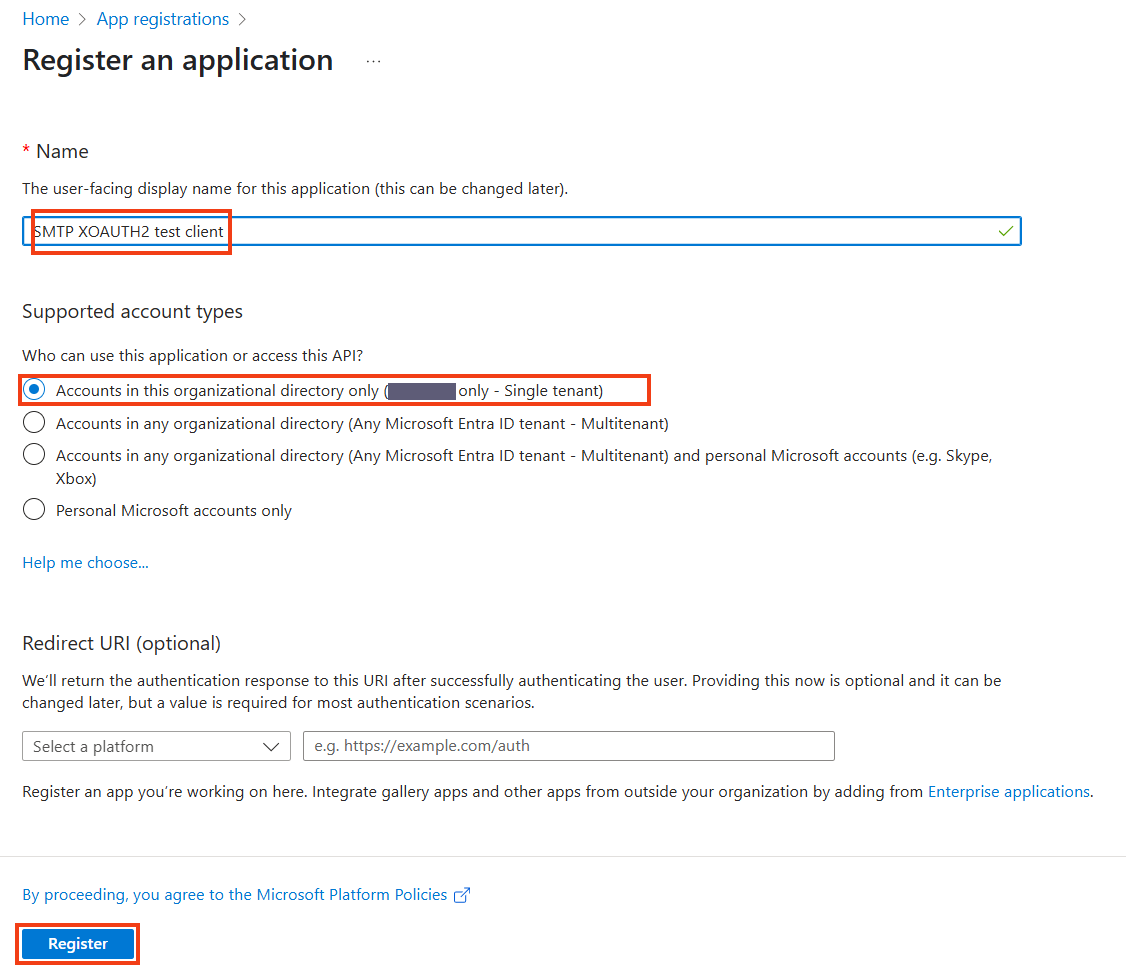
Choose a name, account type (advice is Accounts in this organizational directory only), the redirect URI can be left empty.
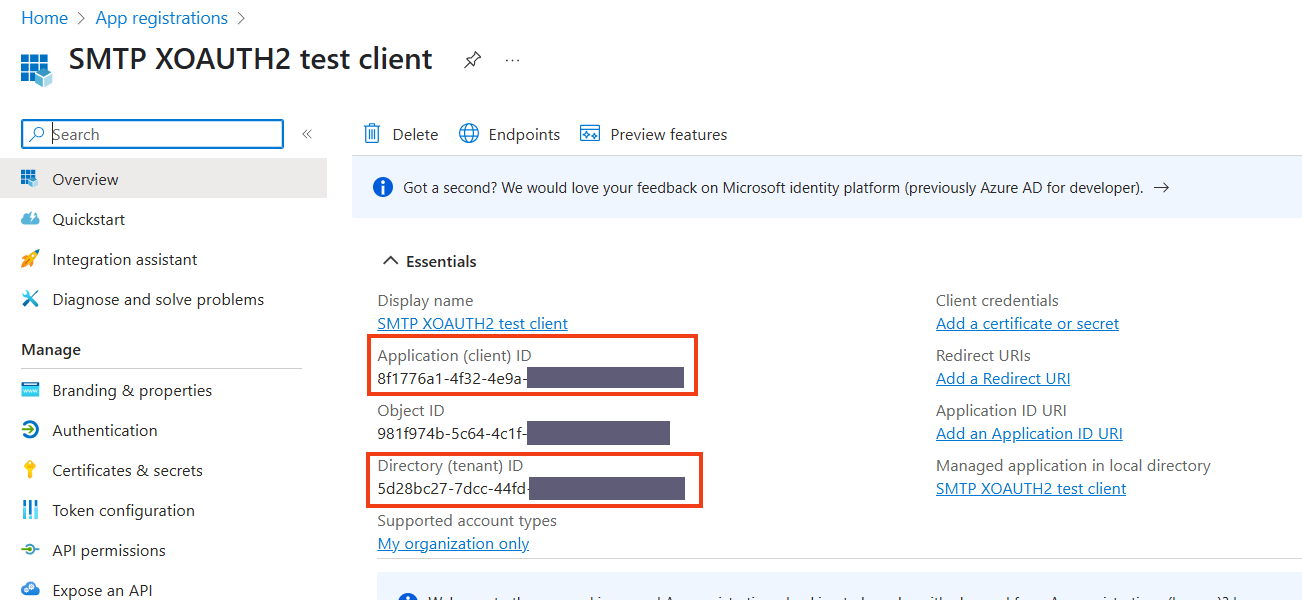
After saving the configuration, on the new screen save the given Application (client) ID and Directory (tenant) ID to use them later.
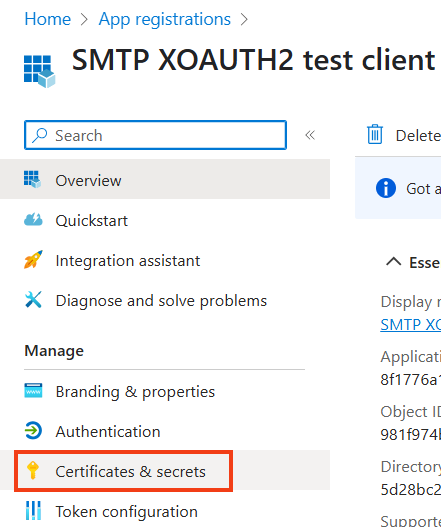
Go to Certificates & secrets
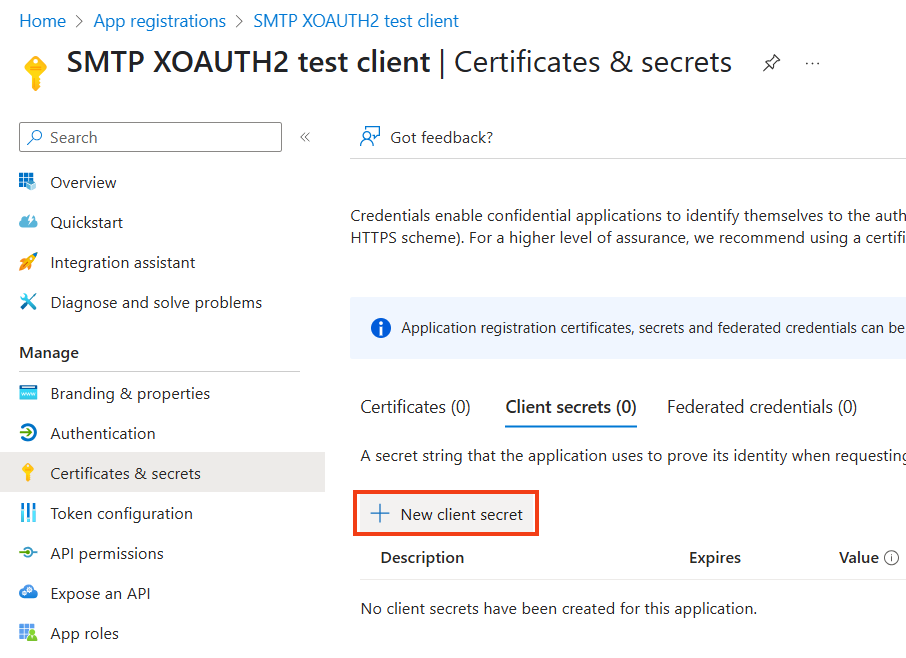
Click on New client secret.
Choose a description and set an expiry.
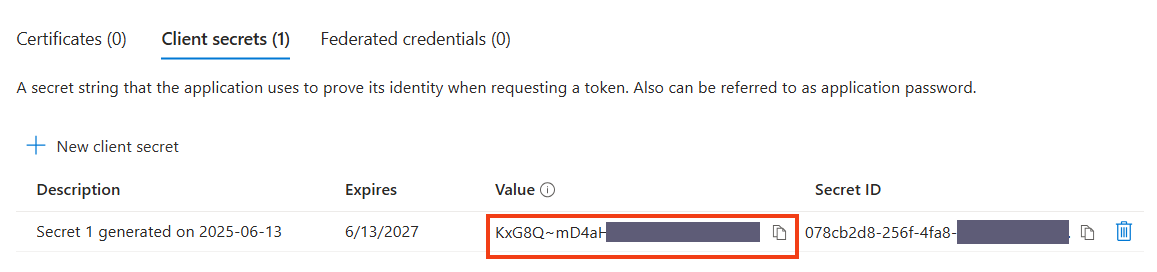
After the client secret is created, save the value for later use. After leaving this page the secret is not longer visible!
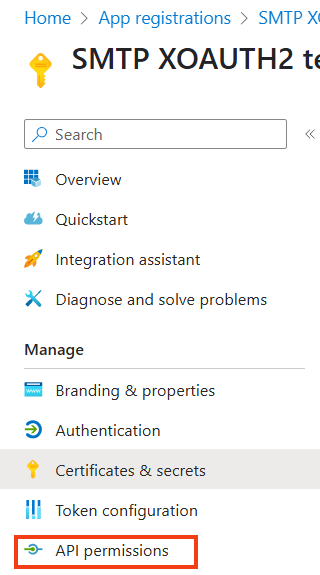
Go to API permissions.
Click on Add a permission.
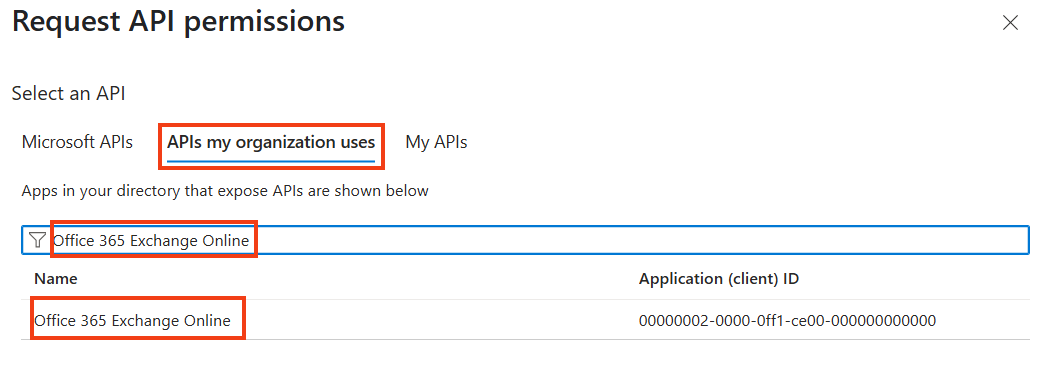
Click on APIs my organization uses and search for Office 365 Exchange Online, select/click on this one.
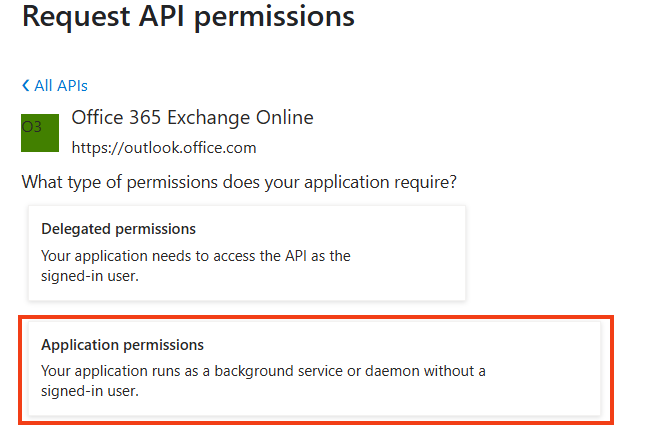
Choose Application permissions
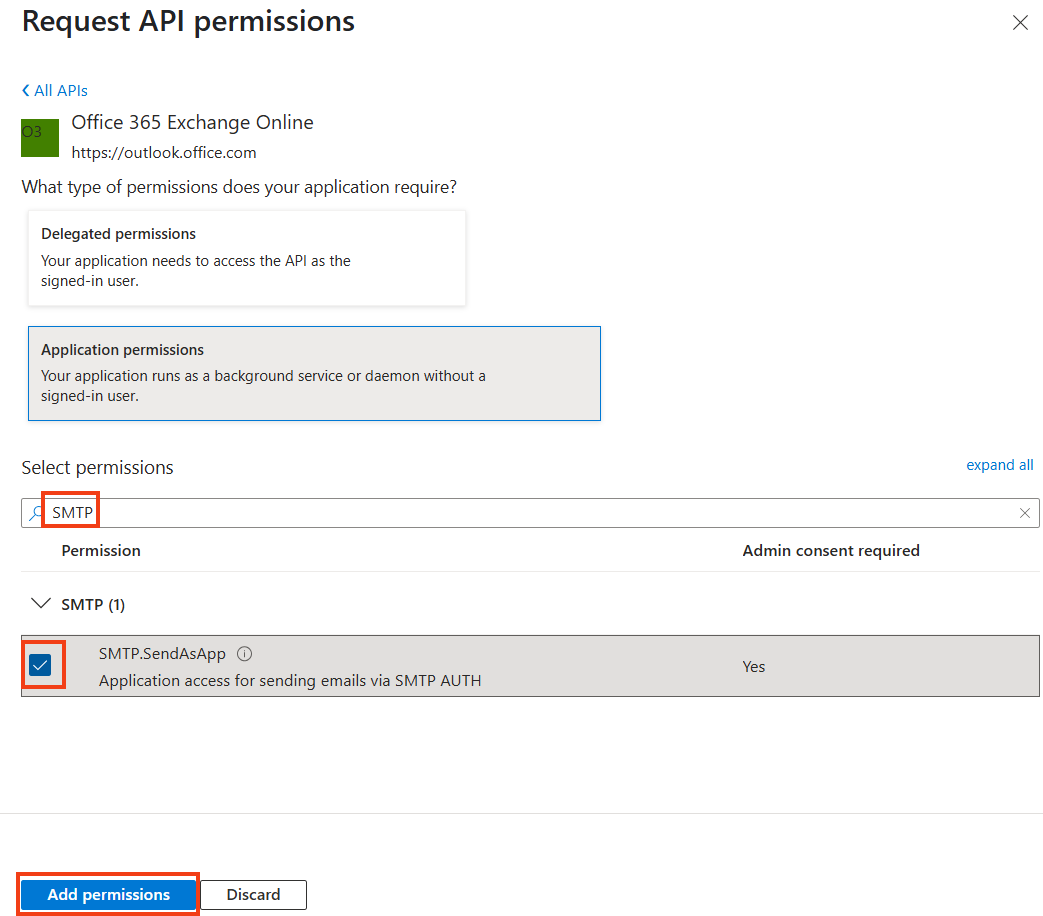
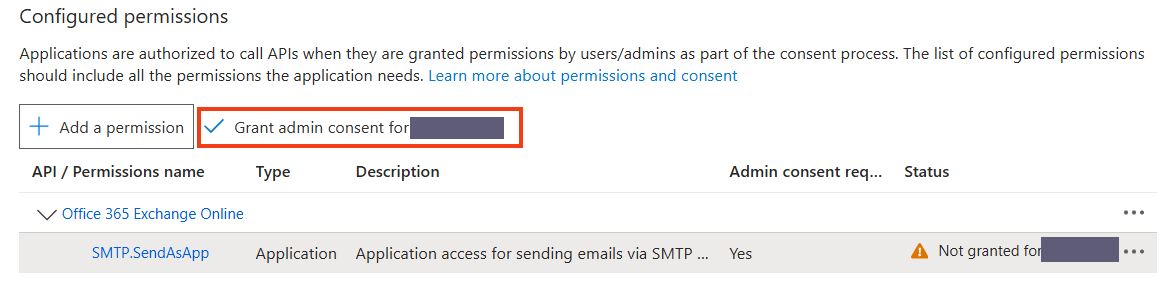
Search for SMTP and select SMTP.SendAsApp. Click on Add permissions.
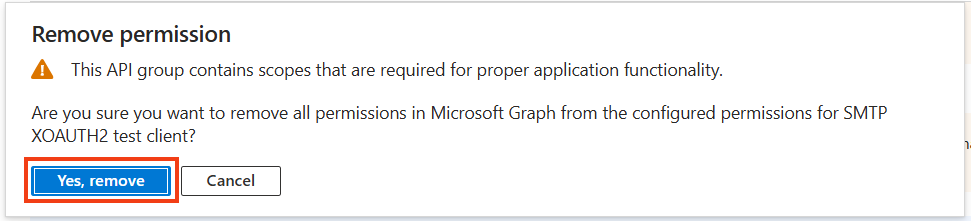
If permissions for Microsoft Graph are in the list, you can remove them. Microsoft Graph permissions are not necessary for sending mails.
Click on Grant admin consent for (your organization name) and then on Yes.
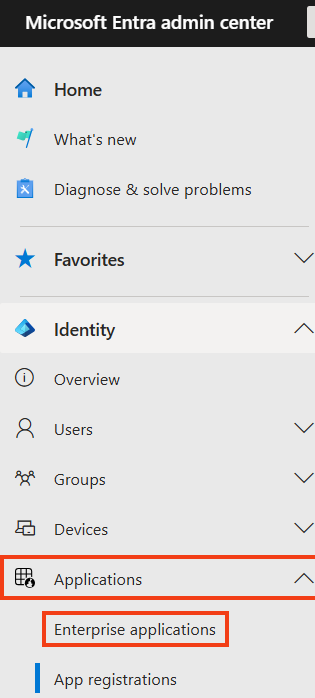
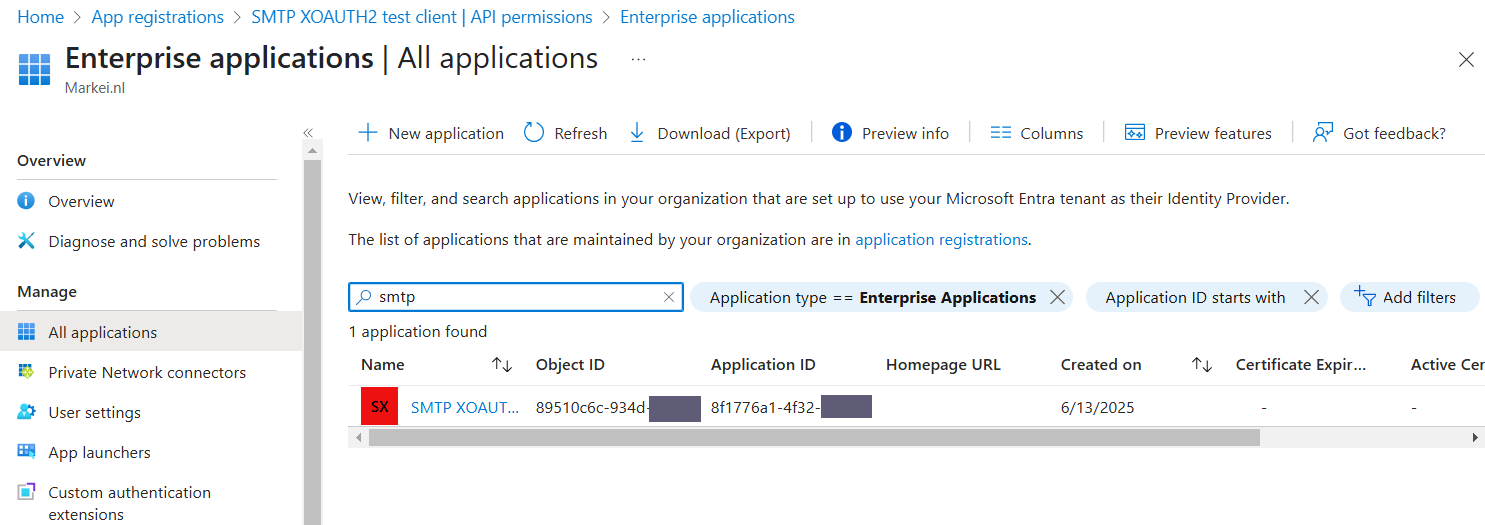
Go to Identity > Applications > Enterprise applications.
Look for your just created application. Click on it.
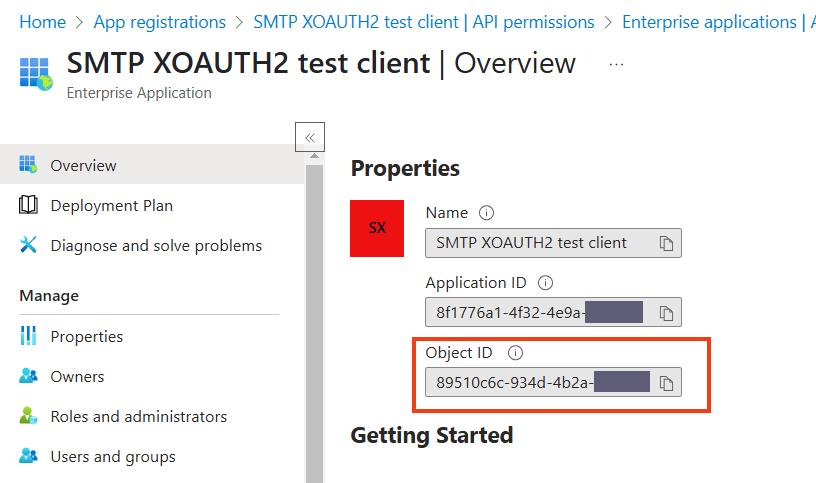
Save the Object ID for later. Note that this one differs from the one under App registrations for the same app.
Set up Exchange Online
Install ExchangeOnlineManagement module in PowerShell with admin rights when it is not yet installed. More about this module can be found on Microsoft Learn.
Open a new PowerShell window as a normal user.
And run the following command, replace <Directory (tenant ID)> with the Directory (tenant) ID that you noted before.
Import-Module ExchangeOnlineManagement
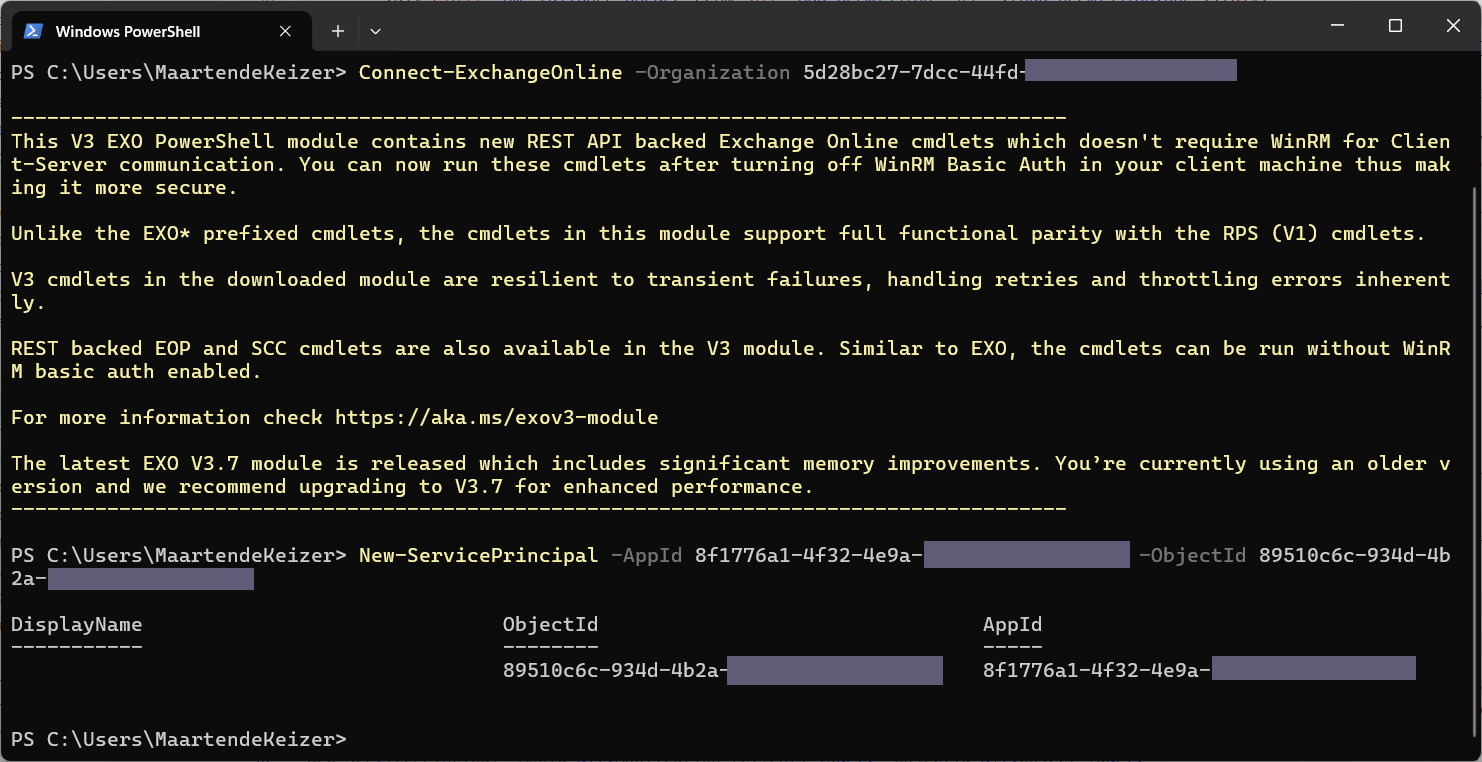
Connect-ExchangeOnline -Organization <Directory (tenant ID)>
Now create a service principal reference in Exchange Online, this will reference to the service principal in Microsoft Entra ID.
Run the following command, Replace <Application (client) ID> and <Object ID> with the values noted before.
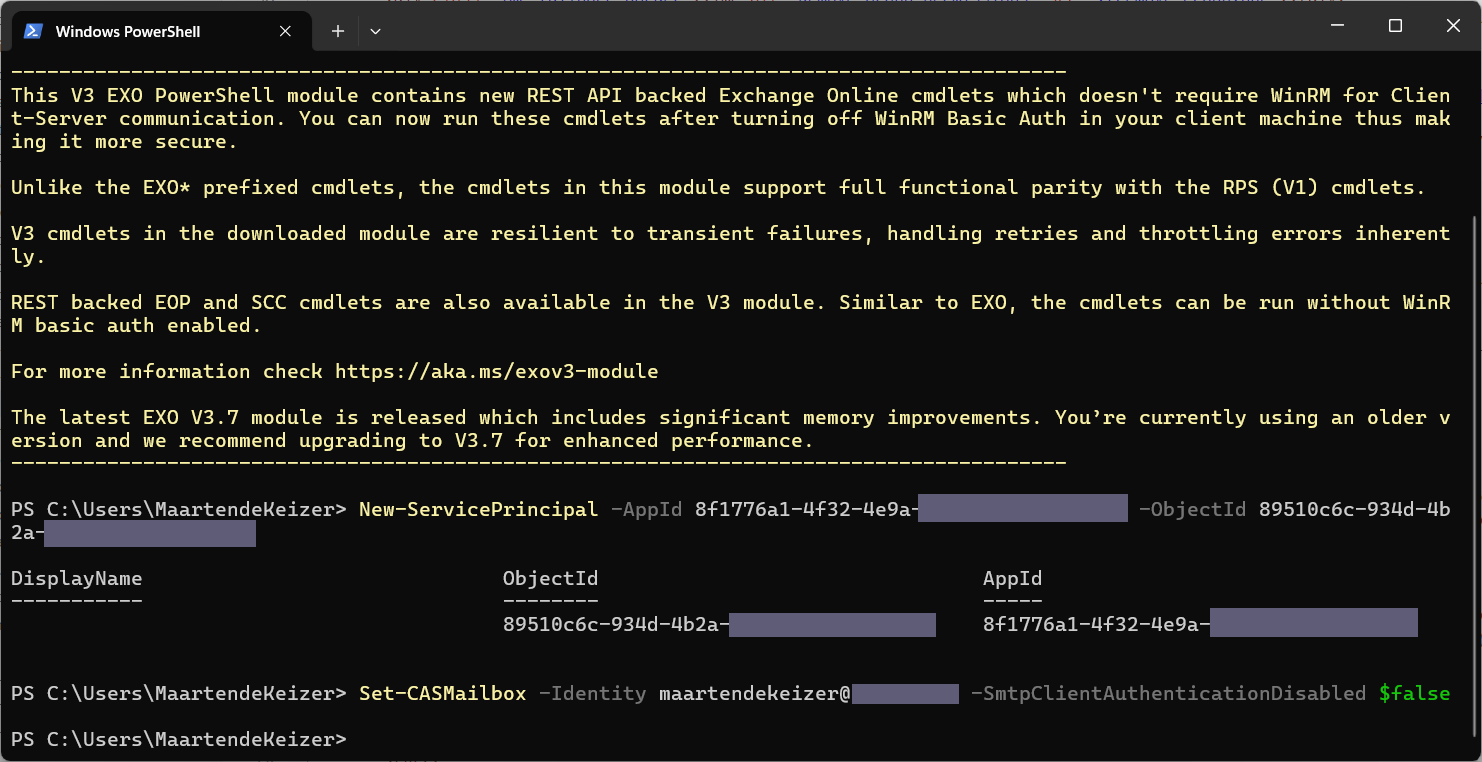
New-ServicePrincipal -AppId <Application (client) ID> -ObjectId <Object ID>
Allow SMTP authentication either to domain wide or per user. When setting per user replace <my-mailbox@domain.tld> with the mailbox that will send the mail (from address of the sent mail).
Set-TransportConfig -SmtpClientAuthenticationDisabled $false
    ... or ...
Set-CASMailbox -Identity <my-mailbox@domain.tld> -SmtpClientAuthenticationDisabled $false
Allow the service principal to send as the user. Replace <my-mailbox@domain.tld> with the mailbox that will send the mail (from address of the sent mail) and <Object ID> with the value noted before.
Add-MailboxPermission -Identity <my-mailbox@domain.tld> -User <Object ID> -AccessRights FullAccess
Add-RecipientPermission -Identity <my-mailbox@domain.tld> -Trustee <Object ID> -AccessRights SendAs
The setup of the service principal is done. It can be used in your application.
Obtaining an access token
To use the service principal your application needs to obtain an access token, the access token can be used inside the SMTP protocol and will expire shortly. Obtaining an access token is done by your application but for testing purpose you can do it outside the application.
Any advanced http client can be used for this, below is the command given for cUrl. Replace the <Directory (tenant ID)>, <Application (client) ID> and <Client secret> with the collected values.
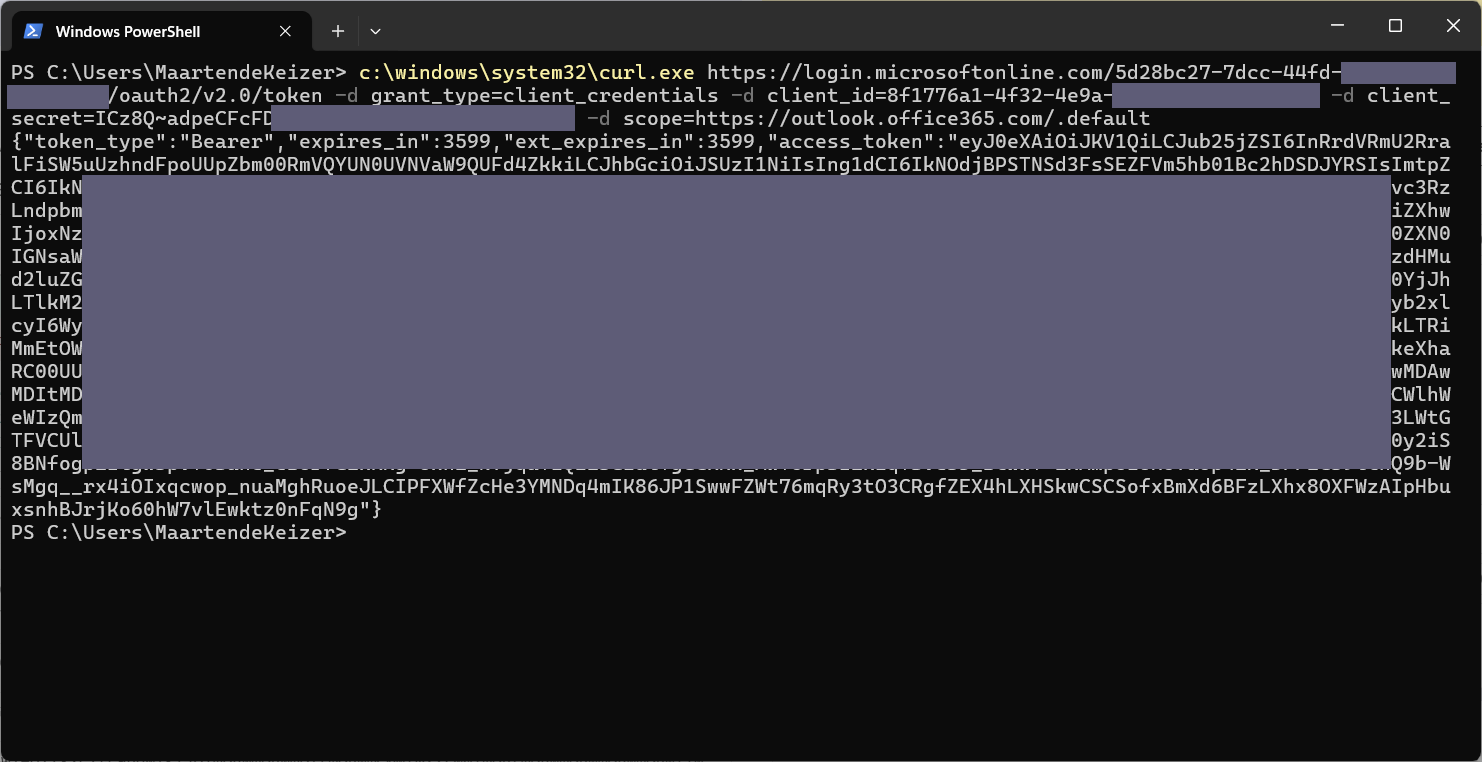
curl https://login.microsoftonline.com/<Directory (tenant ID)>/oauth2/v2.0/token -d grant_type=client_credentials -d client_id=<Application (client) ID> -d client_secret=<Client secret> -d scope=https://outlook.office365.com/.default
When using cUrl in PowerShell enter the fullpath to the exe (c:\Windows\System32\curl.exe) because PowerShell will alias curl to Invoke-WebRequest.
The response should be and JSON response containing a token_type, expires_in and an access_token.
{"token_type":"Bearer","expires_in":3599,"ext_expires_in":3599,"access_token":"eyJ0eXAiOiJKV1QiLCJub25jZSI6IlRLRUhkRk8wTTdIa1RjamV1ZVhpa2tpMTFJO............jZ29Wj1gPJ7o-3dxX6JuCzzoloqsIT4nWYolTFyN6DwTWDjj2pXG_IcJ0w"}
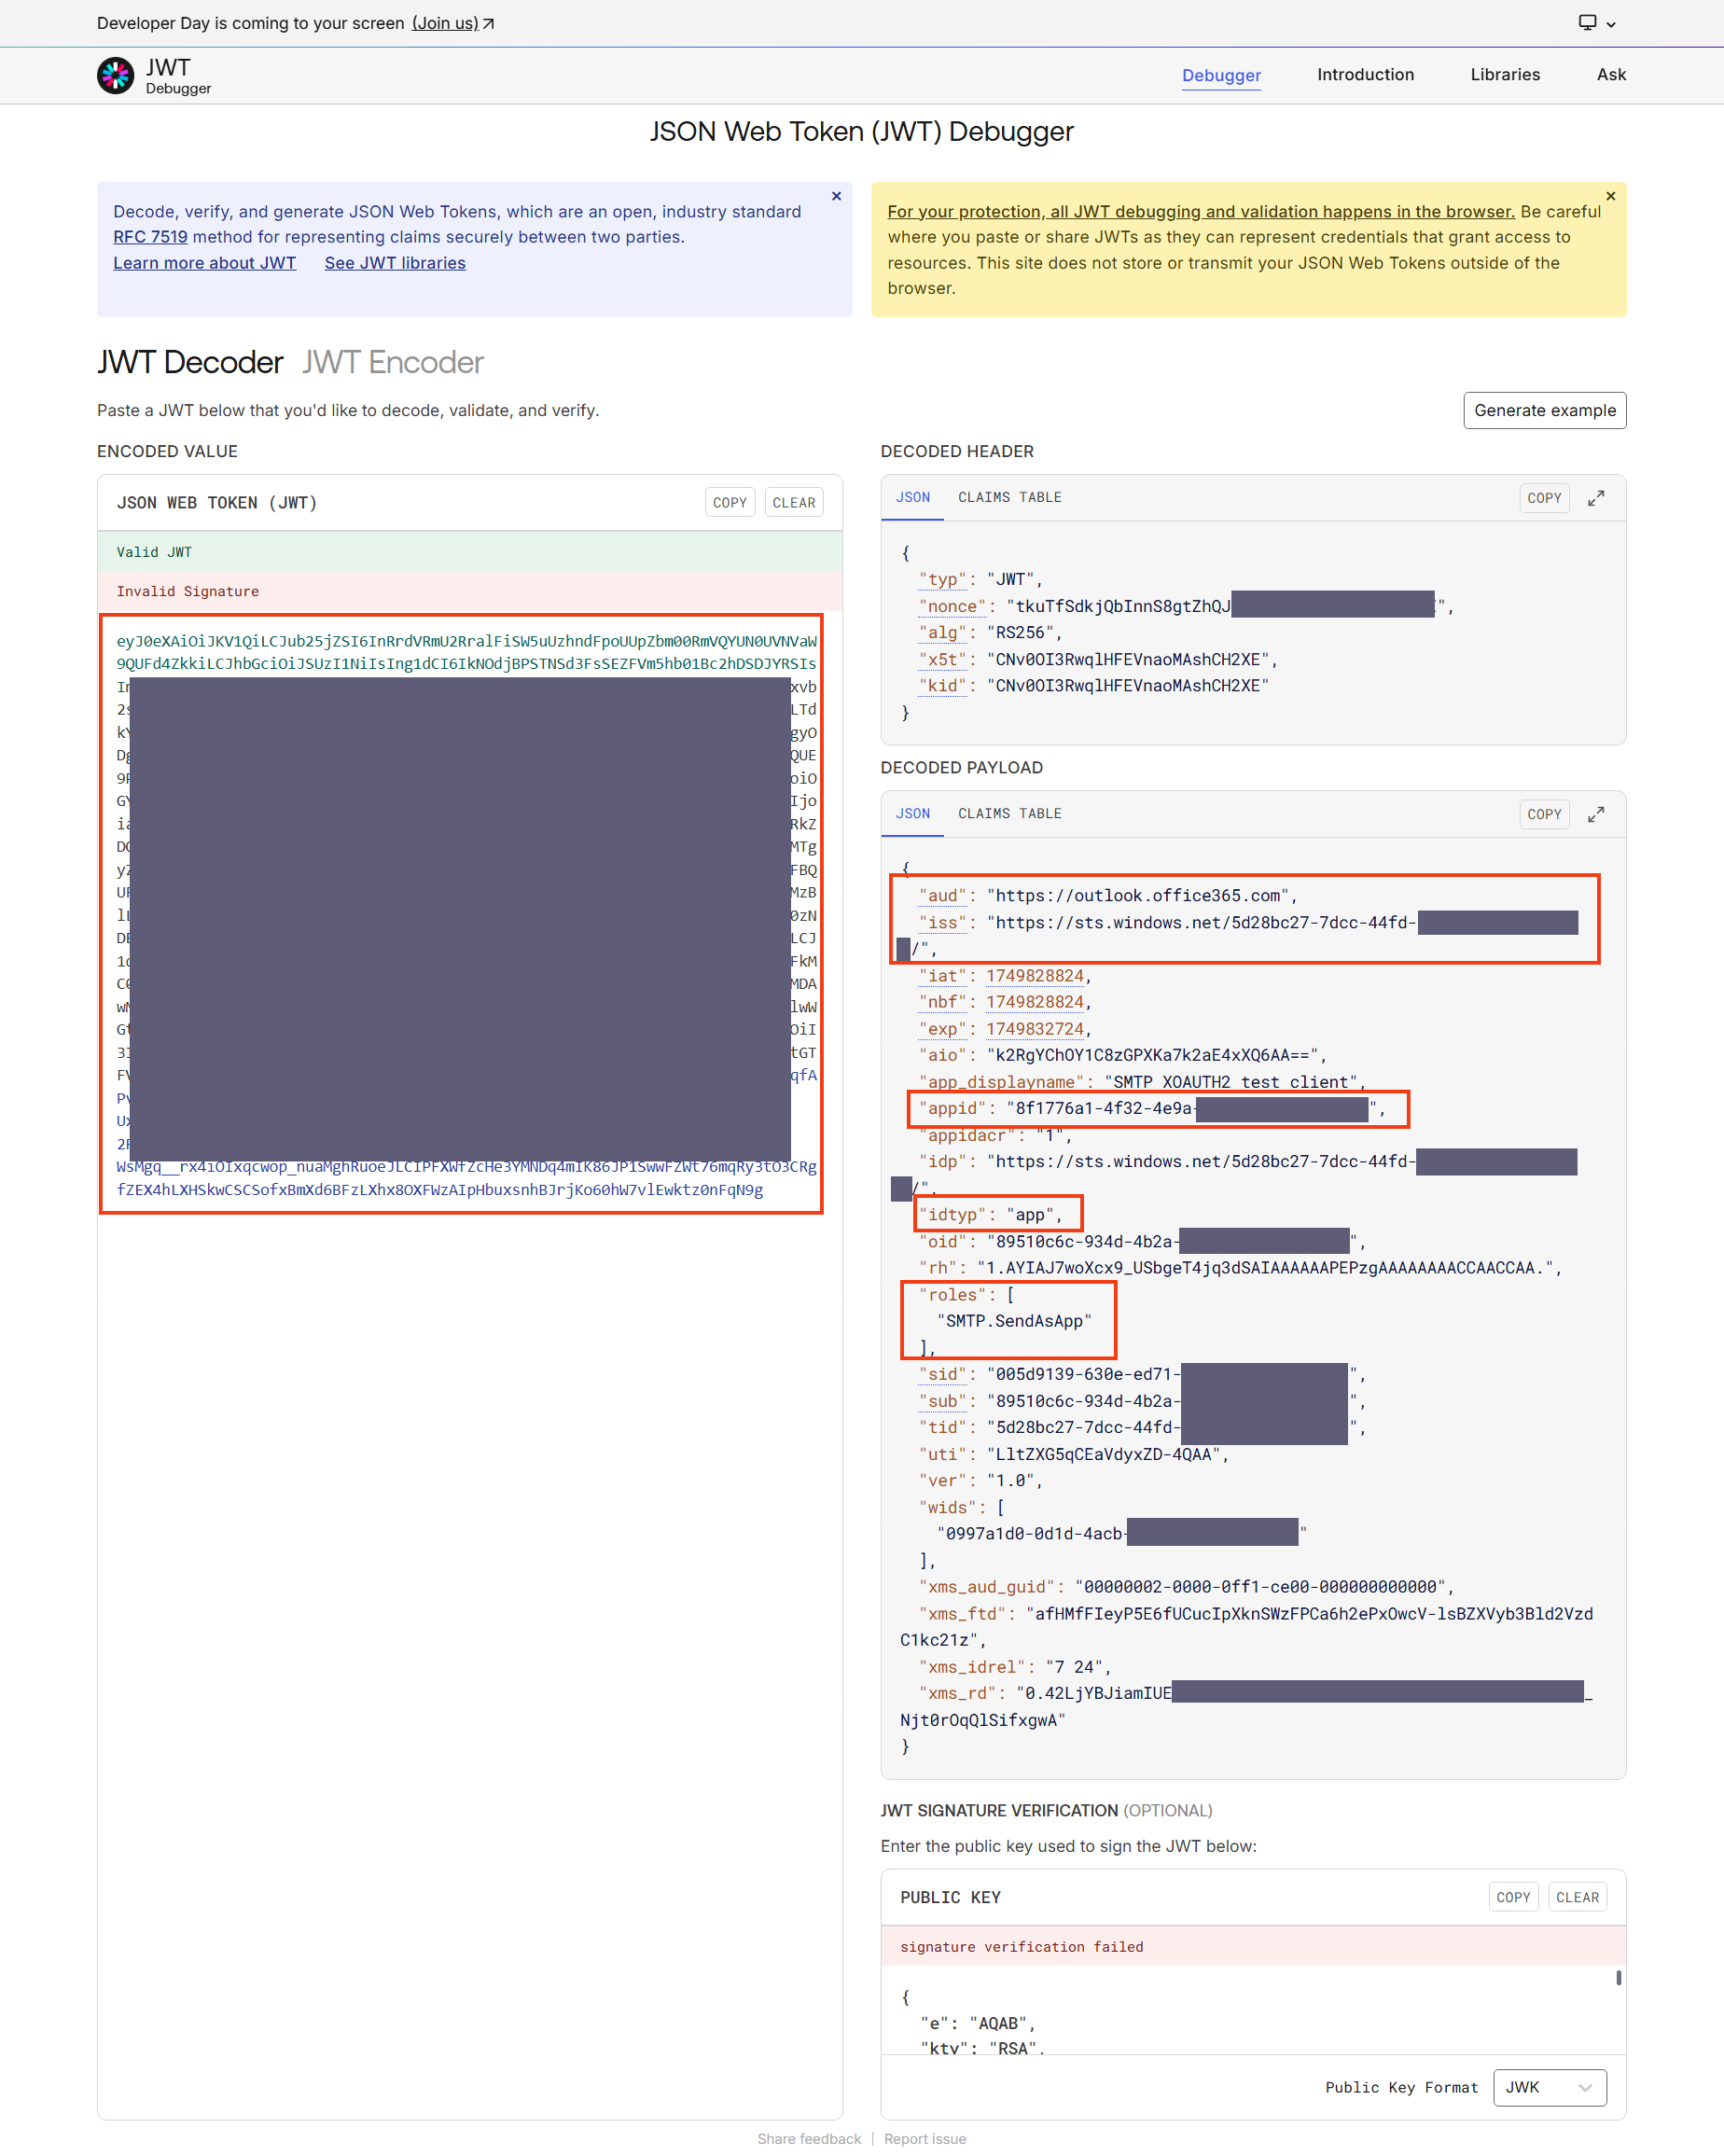
The access token can be copied into a JWT token debugger. The payload should contain the following elements:
- An aud property with the value of
https://outlook.office365.com
- An iss property with the value of
https://sts.windows.net/<Directory (tenant ID)>/
- An appid property with the value of Application (client) ID
- An idtyp property with the value
app
- An roles property with a array containing one value
SMTP.SendAsApp
When this information is in the JWT token your access token can be used in the SMTP protocol for sending mails.